Want indestructible 3D prints? Discover the best glue for PLA at LAVA3dp based on real workshop stress tests. Learn how to bond, weld, and repair PLA parts effectively.
The Reality of Bonding PLA 3D Prints
Most 3D printing enthusiasts eventually hit a wall: your print bed isn’t large enough, or a complex geometry requires printing in multiple pieces. When you need to join these components, choosing the right adhesive determines whether your project succeeds or shatters.
PLA (Polylactic Acid) presents a unique challenge in the workshop. While FDM prints are inherently porous due to microscopic gaps between layer lines, the plastic itself has a relatively low surface energy. This smooth chemical profile, often combined with invisible oils from your hands or leftover bed adhesives, prevents many standard household glues from forming a secure molecular bond.
Over the last decade in the workshop, I have stress-tested dozens of formulations to find out what actually bites into the plastic polymer and holds under real-world mechanical loads.
This guide cuts through marketing claims to deliver the absolute best glue for PLA options available today. We will look at real bond strength, curing time, and the specific formulas that turn separate plastic shells into a single, structurally unified component.
PLA Adhesive Comparison Matrix
| Adhesive Type | Typical Cost | Bond Strength | Curing Time | Best Used For |
|---|---|---|---|---|
| Cyanoacrylate (CA Glue) | $5 – $15 | High (Tensile) | 5 – 30 Seconds | Miniatures, small tight-fitting joints |
| Two-Part Epoxy | $12 – $25 | Maximum (Structural) | 5 – 20 Minutes | Large assemblies, load-bearing parts |
| Polyurethane Glue (Gorilla) | $8 – $16 | Medium-High | 1 – 2 Hours | Outdoor projects, gap-filling |
| Plastic Welding (Methylene Chloride) | $10 – $20 | Molecular Weld | Immediate (Evaporative) | Permanent chemical fusion |
My Experience Using Super Glue on PLA Prints
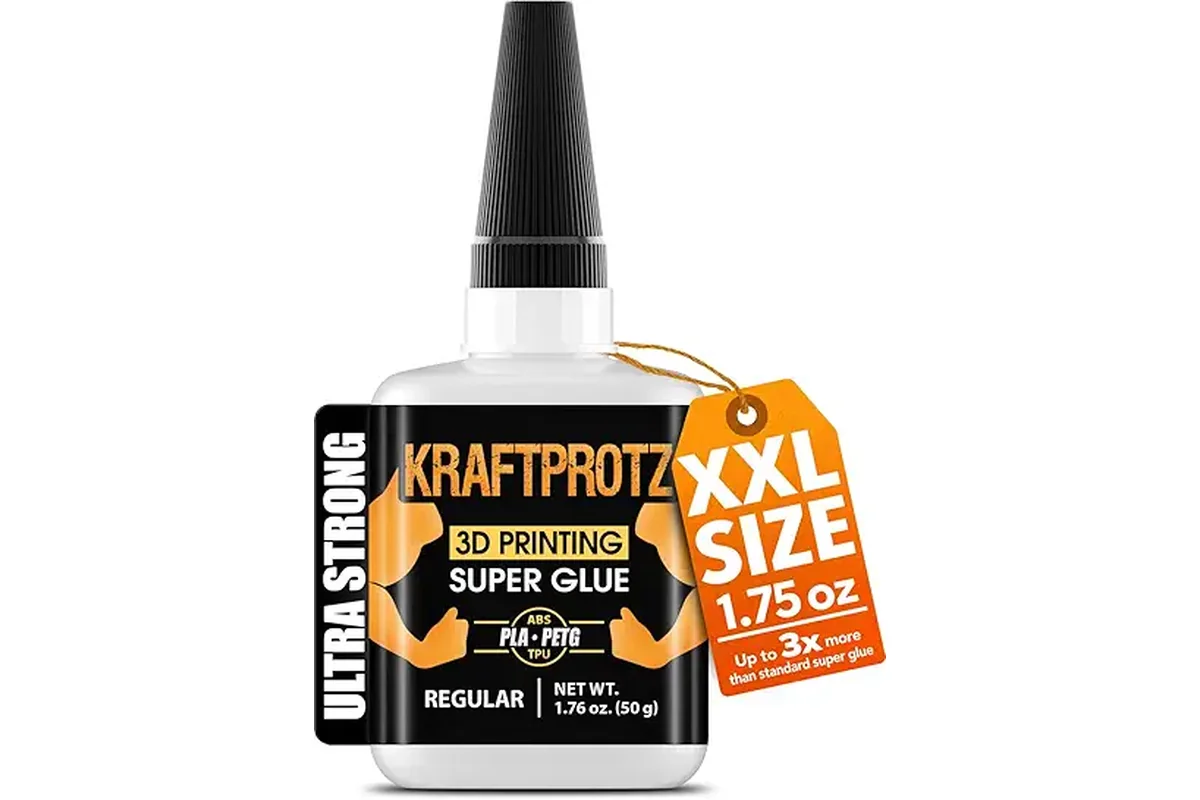
If you need a rapid curing glue, standard cyanoacrylate adhesive (commonly known as super glue or CA glue for 3d prints) is the instinctive choice. But not all super glues behave the same way on raw plastic lines.
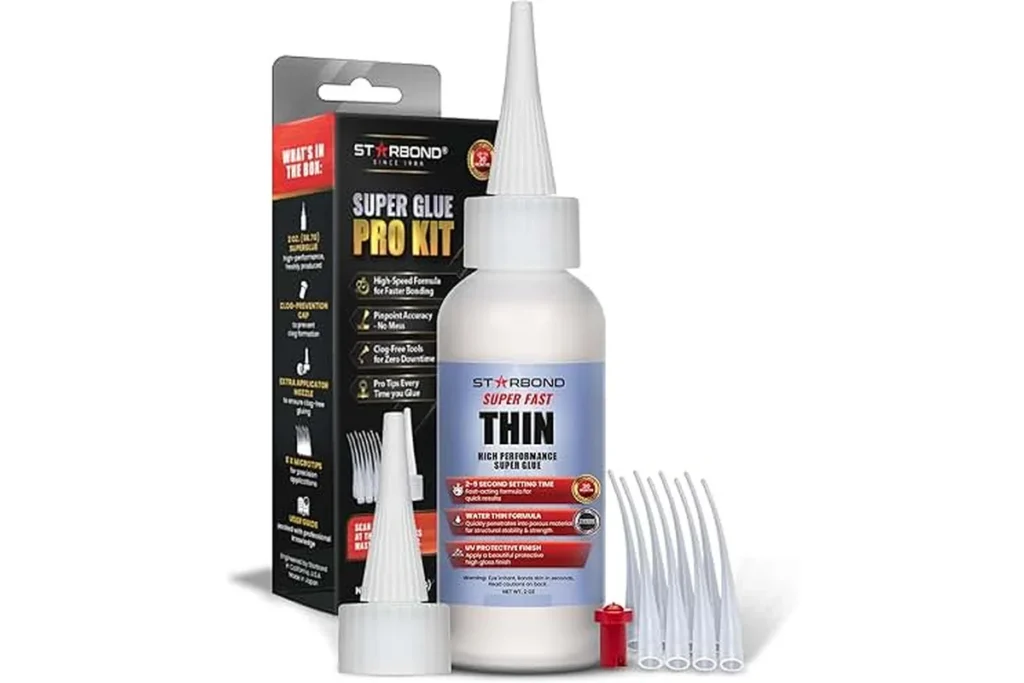
When gluing PLA with standard liquid super glue, the adhesive tends to wick rapidly into the porous gaps between layer lines. This capillary action can draw the glue away from the actual mating surface, leading to a starved, weak joint.
To get around this issue, I highly recommend using a gel-based cyanoacrylate glue for PLA Gel formulas stay exactly where you deposit them, bridging minor surface imperfections caused by slight print warping or inconsistent layer adhesion.
Related: 10 Best Large Format 3D Printers: Features, Costs, and Top-Rated Machines in 2026
The CA Glue Workflow That Holds
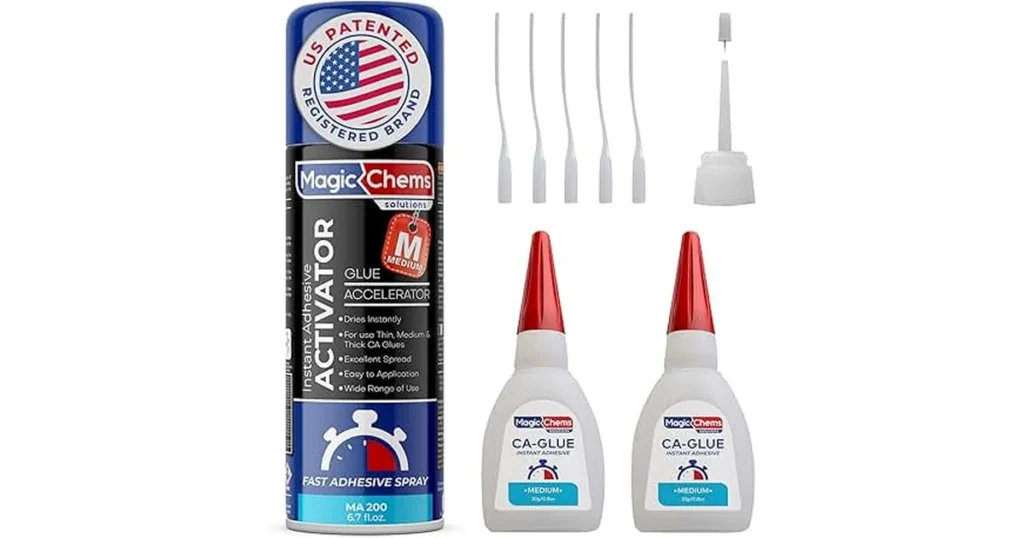
For the best super glue for PLA results, pairing your adhesive with a chemical activator (accelerator) changes everything. Here is the process I use daily:
- Clean both mating faces with 99% isopropyl alcohol to remove finger oils.
- Apply a thin, even layer of gel super glue to one side of the joint.
- Spray a light mist of CA activator onto the opposing face.
- Press the pieces together firmly for precisely 10 seconds.
This approach creates an almost instantaneous structural bonding effect. Be warned: you get exactly one chance to align the parts. Once the activated faces touch, the plastic repair adhesive grabs tightly, making later adjustments impossible without snapping the alignment pins.
Super Glue vs Epoxy: Hands-On Comparison
Cyanoacrylate (Super Glue)
Super glue creates a hard, brittle crystalline structure when cured. Under pure tensile force (pulling straight apart), a high-quality pla plastic glue holds remarkably well. However, its Achilles’ heel is shear stress and impact shock. If you drop a multi-part pla print joined with super glue onto a concrete floor, the sudden shock will likely shatter the brittle glue line cleanly.
Two-Part Epoxy
A heavy-duty two-part epoxy works via a chemical reaction between a resin and a hardener. Unlike super glue, epoxy does not rely on a microscopically thin layer. It acts as an exceptional gap filling adhesive, curing into a dense, slightly flexible plastic matrix.
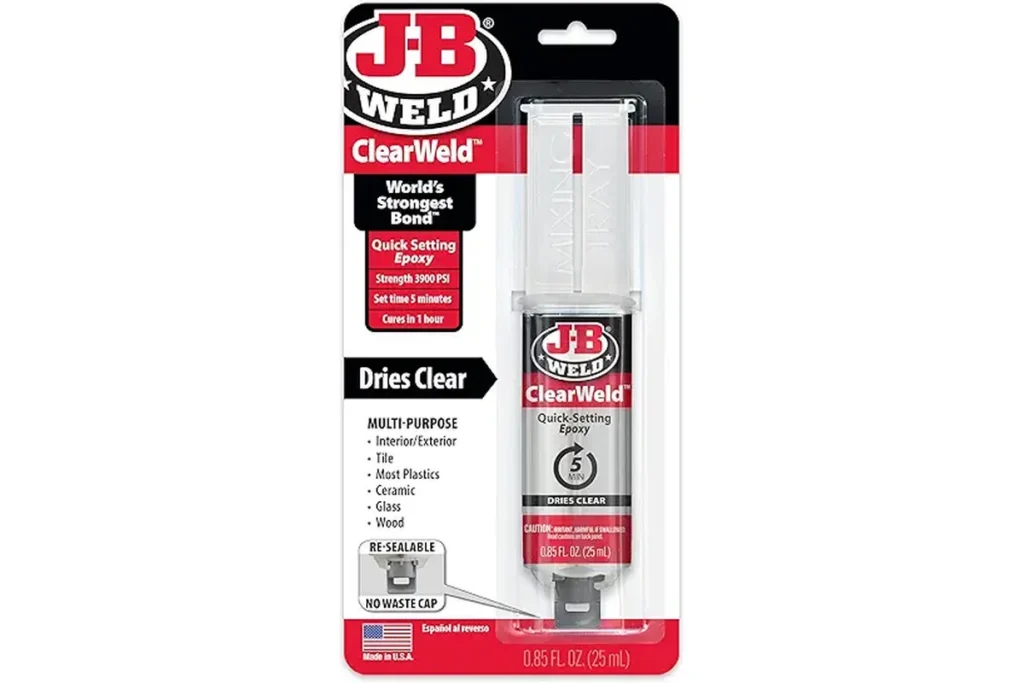
- Impact Resistance: Epoxy absorbs vibrational energy and mechanical shock instead of cracking.
- Surface Tolerance: It handles uneven surfaces, heavy warping, and large gaps between mating pieces perfectly.
- Working Time: With a 5-minute or 20-minute working window, you can carefully slide large pla prints into absolute alignment.
Best Adhesives for Large PLA Assemblies
Assembling large multi-part PLA prints requires a strategy that goes beyond standard hobby glues. When you are piece-mating a full-sized cosplay helmet or an industrial prototype spanning several kilograms of material, managing assembly stress is your primary concern.
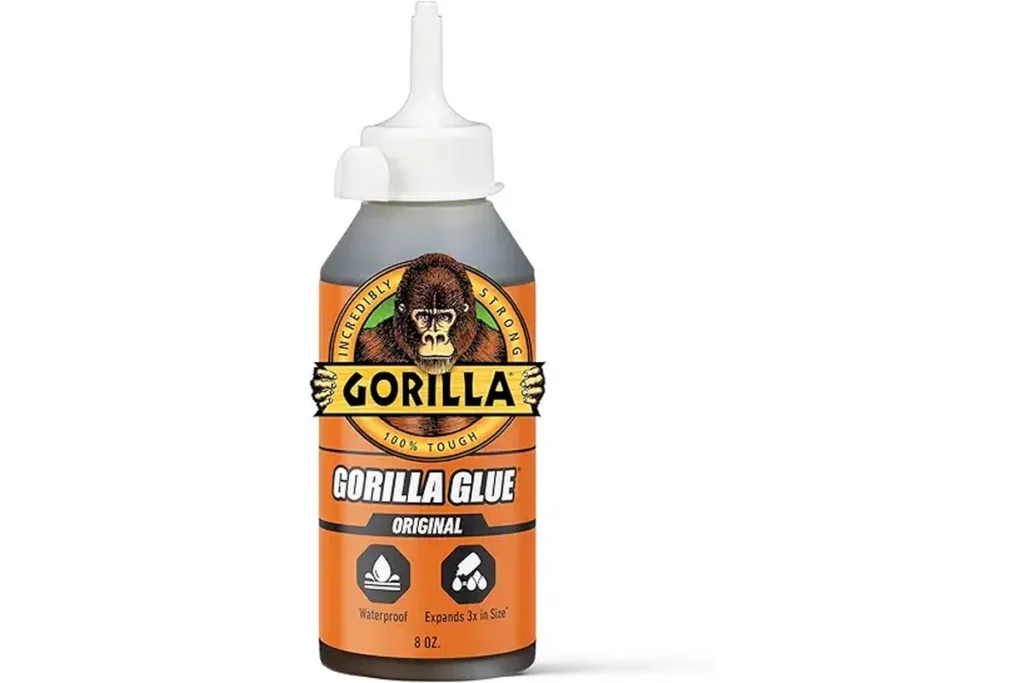
For massive prints, look toward specialized industrial glue lines or a high-performance polyurethane glue. Polyurethane adhesives cure via exposure to moisture in the air or the material itself. They expand slightly as they set, turning into an incredibly tough, waterproof glue for pla applications.
Managing Large Join Lines
When dealing with a massive structural layout, relying entirely on chemical adhesion is a design flaw. Expert makers utilize a hybrid approach combining mechanical fastening with chemical bonding.
Expert Design Tip: Always design internal alignment channels, interlocking puzzle joints, or physical registration pins into your 3D models prior to slicing.
These physical design features absorb the primary shear forces, leaving the adhesive to handle simple retention. This structural combination prevents massive assemblies from failing along a single glue seam.
PLA Welding vs Adhesive Bonding
Sometimes the best adhesive isn’t a separate glue bottle at all—it is the exact same material as your print. Chemical PLA welding glue and thermal plastic welding offer alternatives that bypass the weaknesses of traditional adhesives.
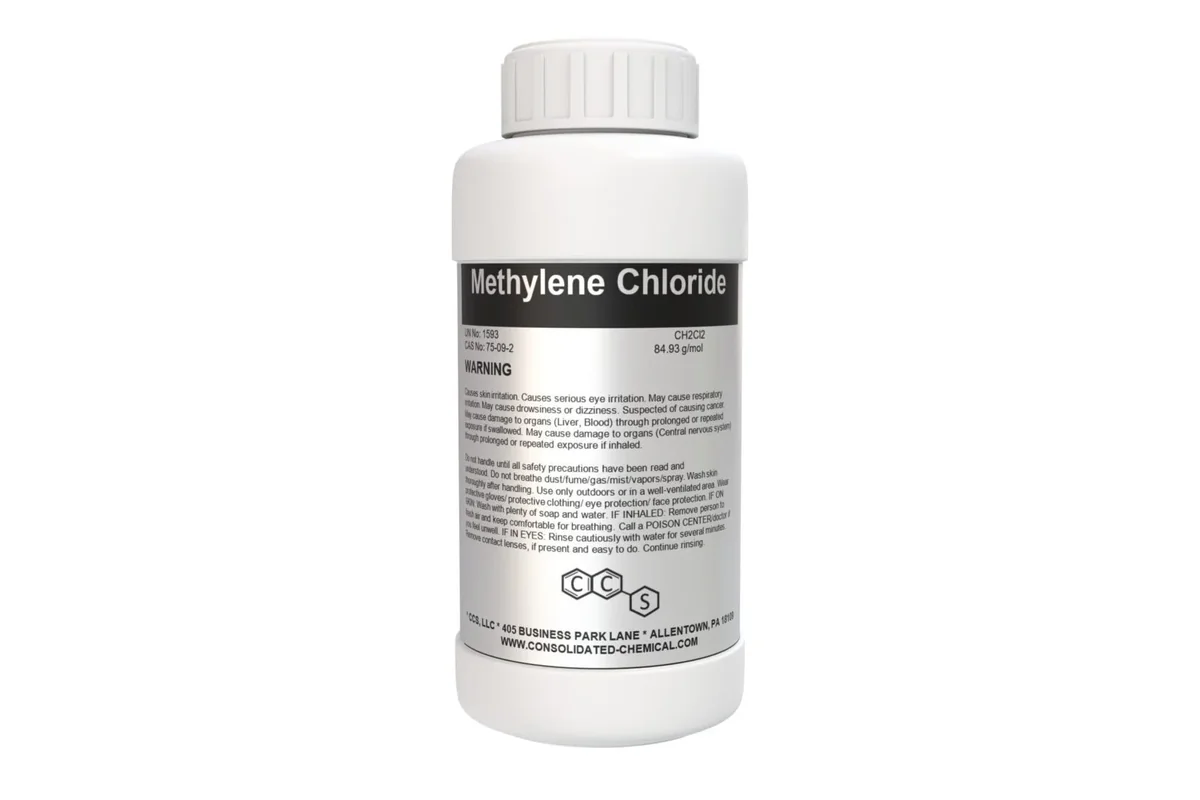
Chemical Welding
True solvent welding melts the plastic faces at a molecular level. When the solvent evaporates, the two separate entities fuse into a continuous piece of plastic. For materials like ABS, acetone works perfectly. For PLA, you need specialized chemicals like Methylene Chloride or specialized commercial solvents.
Friction Welding with Filament
A highly reliable workshop trick for heavy structural joints is friction welding using a standard rotary tool (like a Dremel).
Surface Preparation Before Gluing PLA
The secret to achieving an unbreakable bond does not lie entirely in your choice of glue; it depends heavily on your surface preparation workflow. An unprepared 3D print is covered in invisible structural hazards: oily residue from your fingers, leftover release agents from the print bed, and microscopic loose plastic fuzz.
Skipping preparation steps means your expensive industrial bonding solution is merely adhering to a microscopic layer of oil, rather than the core plastic.
Step-by-Step Surface Optimization
Follow this preparation sequence before applying any adhesive to your 3D print assembly:
1. Mechanical Abrasion (Sanding)
Raw FDM prints are exceptionally smooth on their exterior perimeters. Use a coarse 120-grit sandpaper to scuff the mating surfaces thoroughly. Your goal is to destroy the shiny factory finish and introduce microscopic cross-hatched scratches. This drastically increases the total surface area and gives the adhesive a physical tooth to bite into.
2. Chemical Decontamination
Once sanded, the joint will be coated in fine plastic dust. Wash the parts with warm water and dawn dish soap, then dry completely. Follow up by wiping down the connection zone with a microfiber cloth soaked in 99% Isopropyl Alcohol (IPA). Let it air-dry for two minutes.
3. Alignment and Dry Fitting
Always test-fit your components completely dry before opening your glue. Look closely for light gaps. If a corner has warped off the print bed during the print job, sand down the high spots until the two pieces sit flush without requiring physical flexing.
Common PLA Gluing Mistakes and Fixes
Even experienced makers run into structural failures when putting together complicated designs. Understanding why a joint failed prevents wasting time and ruining expensive filament.
If you have ever used liquid super glue on a beautifully finished model only to find a white, powdery residue covering the surrounding plastic the next morning, you have experienced blooming. This happens when volatile cyanoacrylate molecules evaporate into the air and react with surrounding moisture, settling back down onto the exterior surfaces.
If you build a functional bracket or a wall mount using PLA and hang heavy gear from it, a cheap adhesive line will slowly stretch and deform over weeks. This phenomenon is called creep.
Specialty Bonding Scenarios
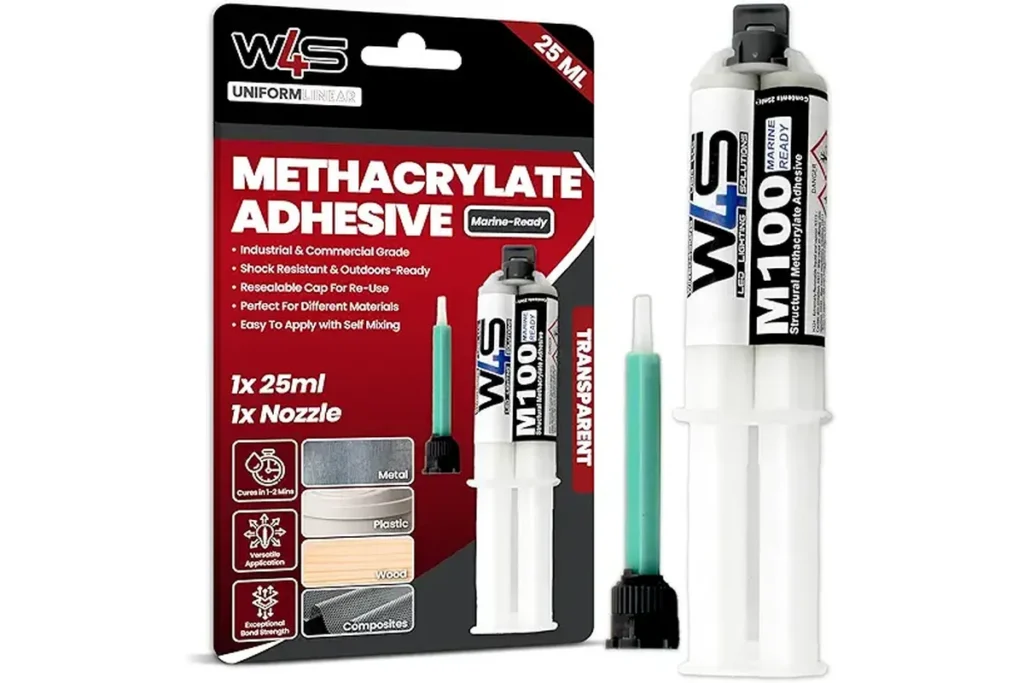
Best Glue for PLA to Metal
Joining a raw plastic surface directly to a slick metal bracket or steel rod requires an adhesive that can bridge two vastly different material expansion rates. Super glue will shear off almost instantly under temperature shifts. The definitive solution here is a toughened epoxy or a specialized methyl methacrylate (MMA) structural adhesive. Scuff the metal surface heavily with an emery cloth before bonding.
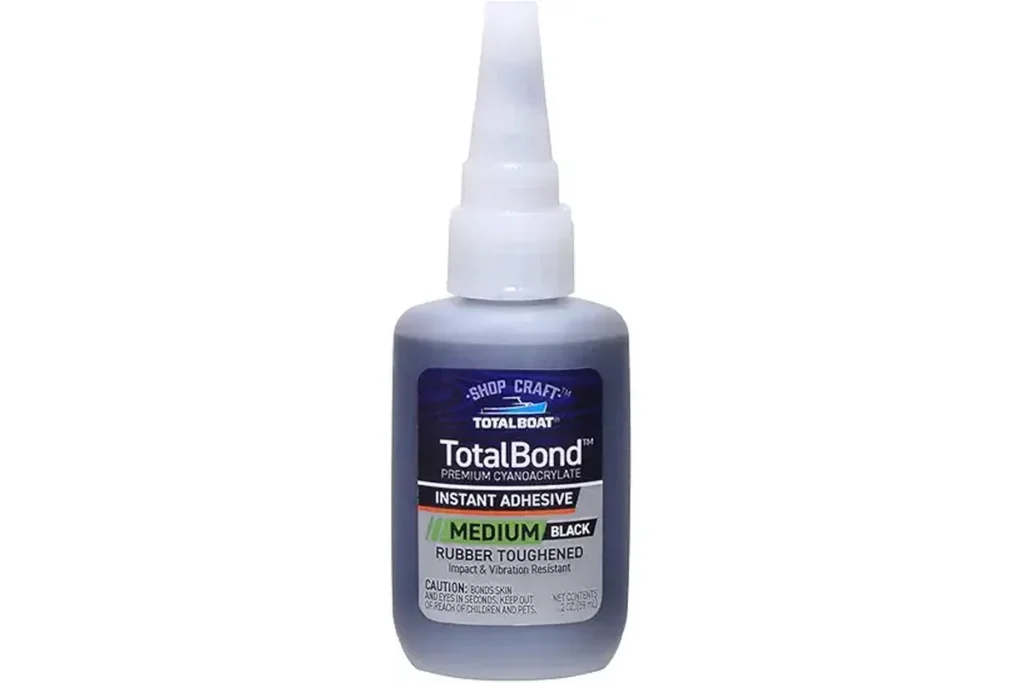
Best Glue for PLA and Magnets
Inserting neodymium magnets into printed pockets is a standard step for storage boxes, gaming terrain, and cosplay armor.
Standard super glue works well here, but it can break down if the magnet snaps repeatedly against its mate. Using a rubber-toughened cyanoacrylate (which looks black in the bottle and costs around $12 to $15) adds a layer of shock absorption that prevents the magnet from tearing out over long-term use.
Related: 10 Best Beginner 3D Printers in 2026 (Easy Setup + Hands-On Tested)
Best Practices for Stronger PLA Connections
Achieving professional results when assembling multi-part 3D prints requires patience and the right choice of material. To maximize success on your next workshop project, always keep these core parameters in mind:
- Match your choice of adhesive to the operational environment of the model (CA glue for display pieces; epoxy for functional assemblies).
- Never neglect surface preparation; sand thoroughly and de-grease with isopropyl alcohol every single time.
- Use gel-based formulations to counter the porous nature of FDM layer lines and fill small manufacturing tolerances.
- Whenever possible, incorporate physical reinforcement pins or friction welding to assist your chemical bonds under heavy stress.