

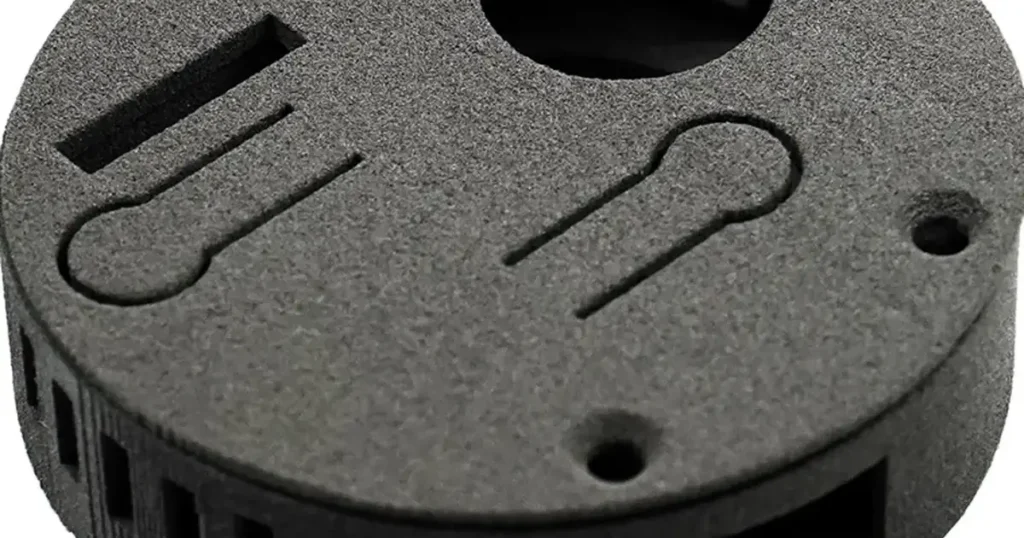
Discover the ultimate 2026 guide to rapid prototyping at LAVA3dp. Learn about 3D printing, CNC machining, vacuum casting, materials, costs, and design guidelines to bring your product to life. Read now to get your next project right!
Getting a physical product to market is a journey of trial, error, and refinement. In product development, speed and accuracy determine whether an idea succeeds or fails. Waiting weeks for a single design iteration is no longer sustainable.
This is where rapid prototyping changes the game. By translating digital designs into tangible parts in days—or even hours—this approach allows hardware innovators, engineers, and product managers to test, modify, and validate their concepts before committing to expensive production setups.
What Is Rapid Prototyping?
Definition of Rapid Prototyping
At its core, the rapid prototyping definition refers to a group of fabrication techniques used to quickly assemble a physical scale model of a part or assembly using three-dimensional computer-aided design (CAD) data. Instead of waiting for hard tooling, developers use these flexible technologies to build physical models on demand.
How Rapid Prototyping Works
The core workflow relies on digital-to-physical translation. It starts with digital design software. The CAD model is exported as a file format—such as STL or STEP—which is then read by specialized rapid prototyping software. This software slices the 3D model into thin horizontal layers. The manufacturing equipment then reconstructs the part, layer by layer or cut by cut, directly from those digital instructions.
The Evolution of Rapid Prototyping
The technology emerged in the late 1980s with the commercialization of stereolithography (SLA). Early machines produced brittle, non-functional plastic models that were only useful for visual reference. Over the last four decades, the field has evolved from a simple modeling aid into a robust ecosystem. Modern systems produce durable, highly accurate, and functionally sound parts capable of withstanding extreme environmental testing.
Why Rapid Prototyping Is Essential in Modern Manufacturing
Without prototyping, hardware development is a gamble. Hard tooling, such as steel injection molds, can cost tens of thousands of dollars and take weeks to build. Making a design change after a mold is cut is incredibly expensive. Prototyping shifts those design mistakes to the digital phase and early physical testing, where changes cost pennies and take hours rather than weeks.
Related: Aluminum CNC Machining: Complete Guide to Processes, Grades, Service Costs & Design Tips (2026)
Advantages or Benefits of Rapid Prototyping
Here are these distinct advantages are exactly why rapid prototyping has become a baseline standard for top-tier engineering teams.
Faster Product Development
The primary benefit is speed. By shrinking lead times from months to days, companies can run multiple design cycles in the time it used to take to complete one. This rapid cadence dramatically reduces time-to-market.
Lower Development Costs
Discovering that a snap-fit joint is too rigid on a $30,000 mold is a financial nightmare—catching it on a $15 prototype, just a five-minute CAD adjustment.
Early Design Validation
Physical models allow teams to conduct hands-on design validation. Seeing a render on a screen is nothing like holding a physical part. It helps verify ergonomics, scale, and general aesthetics early in the lifecycle.
Functional Testing Before Production
Engineers can build a functional prototype using materials that closely mimic the final production plastic or metal. This allows for real-world mechanical, thermal, and electrical testing before tooling begins.
Improved Collaboration Between Design and Engineering Teams
Physical models bridge the communication gap. Having a tangible part on the table during a meeting aligns designers, engineers, marketers, and stakeholders much faster than look-at-the-screen presentations.
Reduced Manufacturing Risks
Prototyping uncovers potential manufacturing issues early. By highlighting draft angle issues, thin walls, or complex geometries before full-scale manufacturing, teams avoid production delays.
Related: ABS Filament Explained: Complete Guide to Printing, Settings, Uses & Tips (2026)
The Complete Rapid Prototyping Workflow
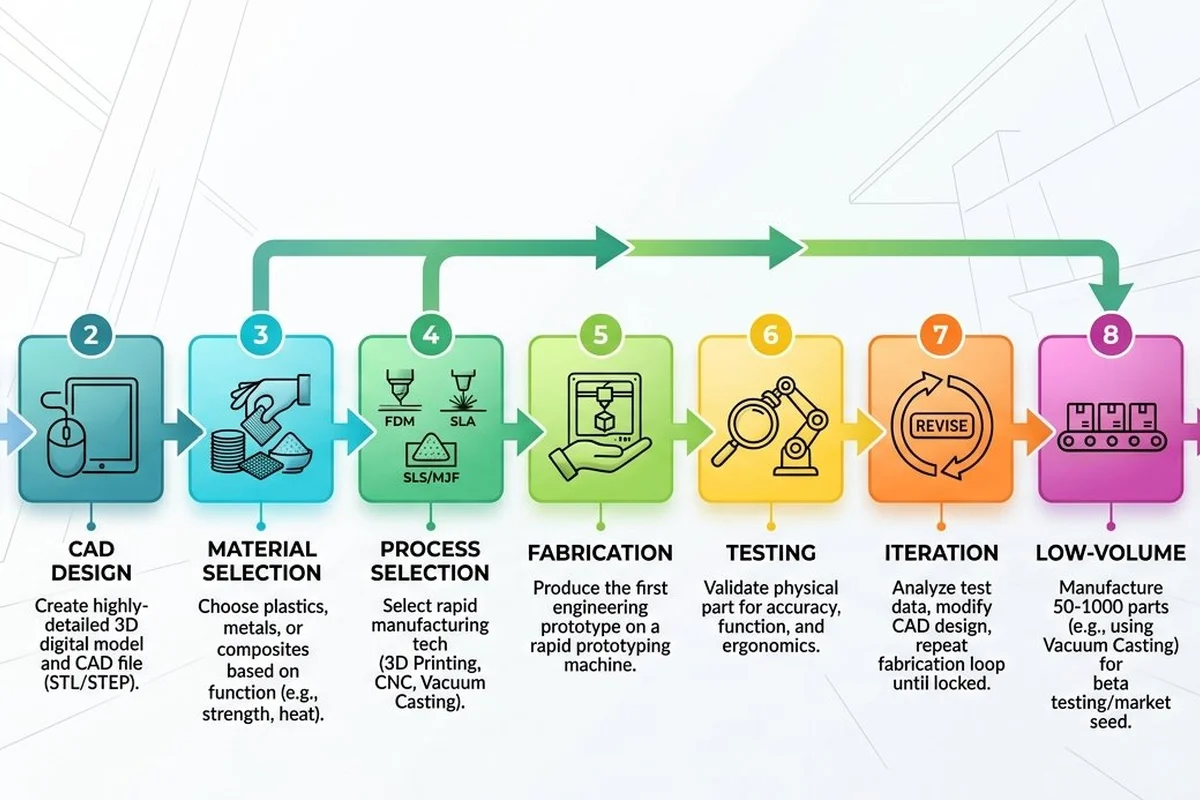
Product Idea & Requirement Analysis
Every project starts with defining the core requirements. What environment will the part operate in? Does it need to be stiff, flexible, heat-resistant, or optically clear? Defining these targets up front prevents wasted prototyping runs.
CAD Design & 3D Modeling
The physical part must exist as a clean digital model first. Engineers use CAD prototyping tools to build highly detailed 3D models. A clean CAD file ensures the manufacturing equipment interprets the geometries correctly.
Material Selection
Choosing the right material is vital. Depending on the test requirements, developers select from a vast range of rapid prototyping materials, including engineering plastics, elastomeric resins, or aerospace-grade metals.
Manufacturing Process Selection
Once the geometry and material are set, you must choose how to make it. This could mean selecting additive manufacturing rapid prototyping methods, subtractive CNC machining, or casting, depending on accuracy and quantity needs.
Prototype Fabrication
The digital files are sent to a rapid prototyping machine or an outside service provider. The physical part is fabricated, cleaned, and post-processed according to specifications.
Testing & Validation
Once in hand, the team conducts physical inspections. This includes checking dimensional tolerances, conducting mechanical stress tests, and evaluating aesthetic finishes to ensure the part meets the original requirements.
Design Iteration
Very few prototypes are perfect on the first try. The feedback from testing is fed back into the CAD model. The digital file is modified, and a new prototype is made. This loop continues until the design is locked.
Low-Volume Production
Before full scale-up, companies often enter a low volume manufacturing phase. Using processes like vacuum casting or rapid tooling, they produce 50 to 1,000 parts to seed the market or perform extensive beta testing.
Transition to Mass Manufacturing
With a validated design and market approval, the product moves to hard tooling and automated mass assembly lines, ensuring minimal defects and optimal cost per unit.
Related: PLA Filament Explained: Complete Guide to Types, Settings, Uses & Tips (2026)
Rapid Prototyping Technologies and Methods Explained
FDM 3D Printing
SLA 3D Printing
SLS 3D Printing
MJF 3D Printing
DLP 3D Printing
PolyJet Printing
Metal 3D Printing (SLM / DMLS / EBM)
CNC Machining
Vacuum Casting
Injection Molding for Prototype Parts
Urethane Casting
Sheet Metal Prototyping
Laser Cutting & Engraving
Waterjet Cutting
How To Choose the Right Rapid Prototyping Process
Selecting the best fabrication method requires balancing several trade-offs.
- Based on Accuracy: SLA, PolyJet, and CNC machining offer the highest dimensional accuracy (down to ±0.05 mm). FDM and SLS are more suited for looser tolerances.
- Based on Material: If you need real, engineering-grade metals, choose CNC machining or DMLS. For flexible parts, look to PolyJet, vacuum casting, or FDM with TPU.
- Based on Mechanical Strength: CNC machined parts and metal 3D prints offer unmatched strength. For plastics, SLS and MJF provide the best isotropic strength among additive methods.
- Based on Surface Finish: SLA and vacuum casting deliver pristine, paint-ready surfaces. FDM and SLS have visible layer lines and a slightly grainy texture.
- Based on Production Quantity: For 1–5 units, 3D printing is most economical. For 10–100 units, vacuum casting is ideal. For 100+ units, rapid injection molding or CNC machining becomes competitive.
- Based on Budget: FDM and SLA are the most cost-effective options for quick geometric checks. CNC machining and metal 3D printing represent the higher end of the budget spectrum.
- Based on Lead Time: FDM and SLA prints can often be delivered overnight, while rapid tooling can take 2 to 3 weeks.
Rapid Prototyping Materials
The material you choose determines how your prototype performs under pressure. Here are the most common options:
Thermoplastics for 3D Printing
- PLA: Easy to print, biodegradable, and rigid. Great for fast, cheap visual models, but brittle and sensitive to heat.
- ABS: Impact-resistant and durable. Excellent for structural parts, though prone to warping during printing if not managed.
- PETG: The middle ground between PLA and ABS. Highly chemical resistant and easy to print.
- Nylon (PA12): Extremely tough, wear-resistant, and flexible in thin sections. The standard for SLS and MJF functional parts.
- TPU: A flexible, rubber-like elastomer. Ideal for gaskets, hoses, and soft grips.
- ASA: Similar mechanical properties to ABS, but with high UV and weather resistance, making it perfect for outdoor applications.
- Carbon Fiber Reinforced Materials: Nylon or PETG filled with chopped carbon fibers. Offers incredible stiffness-to-weight ratios for structural frames.
Photopolymers & Cast Resins
- Resin Materials: Used in SLA, DLP, and PolyJet systems. These offer high detail and smooth finishes, with specialized formulations mimicking ABS-like toughness, polypropylene-like flexibility, or high heat resistance.
- Silicone & Polyurethane Materials: Used in vacuum casting to create durable, rubber-like parts with varying elasticities (Durometers).
Metals
- Aluminum (e.g., 6061-T6): Lightweight, easy to machine, and offers excellent thermal and electrical conductivity. The workhorse of functional prototyping.
- Stainless Steel (e.g., 304, 316L): Highly corrosion-resistant and incredibly strong. Used for marine, medical, and heavy industrial prototypes.
- Titanium: Extremely strong, biocompatible, and lightweight. Used heavily in aerospace and medical implants.
- Brass: Offers low friction and excellent machinability. Used for gears, valves, and threaded fittings.
- Copper: Highly conductive electrically and thermally. Essential for custom busbars and heat sinks.
- Tool Steel: Extremely hard steel alloy used to make rapid tooling inserts and highly wear-resistant industrial prototype parts.
Specialty Plastics
- Engineering Plastics (POM, PEEK, PC, PMMA, PP): Machined via CNC to test exact material properties. PEEK offers extreme thermal resistance, POM (Acetal) is highly dimensionally stable with low friction, and PMMA (Acrylic) provides optical clarity.
Related: PETG Filament Explained: Pros, Cons, Print Settings & Best Uses in 2026
Comparing Rapid Prototyping Technologies
| Technology | Accuracy | Material Strength | Surface Finish | Best For |
|---|---|---|---|---|
| FDM | Moderate (±0.2 mm) | Moderate to High | Visible layer lines | Quick concept validation, jig & fixtures |
| SLA | High (±0.05 mm) | Low to Moderate | Smooth, highly detailed | Presentation models, master patterns |
| SLS / MJF | High (±0.1 mm) | High (Isotropic) | Matte, slightly grainy | Functional testing, low-volume production |
| CNC Machining | Extremely High (±0.01 mm) | High (Parent material) | Smooth to machined | Functional metal/plastic testing, tight fits |
| Vacuum Casting | High (±0.1 mm) | Moderate to High | Excellent (molded look) | Pre-production testing, marketing samples |
Rapid Prototyping Design Guidelines
Designing for prototypes requires a slightly different approach than designing for high-volume manufacturing. However, incorporating DFM for prototyping (Design for Manufacturability) early saves massive redesign effort down the road.
Wall Thickness
Ensure your walls are thick enough to support themselves. For FDM and SLS, a minimum of 1.5 mm is recommended. For SLA and CNC, you can occasionally go down to 0.8 mm, but thicker walls prevent warping and machining vibrations.
Tolerances
Always design with assembly clearances in mind. While CNC can hold tight clearances, 3D printing typically requires a gap of 0.2 mm to 0.4 mm for interlocking, moving parts to function correctly.
Support Structures
Understand that SLA, FDM, and metal 3D printing require physical supports to print overhanging features. Minimize supports by orienting your design carefully or using self-supporting angles.
Part Orientation
The direction your part is oriented in the machine affects its strength. Additive parts are weakest along the Z-axis (layer lines). Orient your design so that operational loads do not pull the layers apart.
Overhangs
For FDM printing, keep overhang angles under 45 degrees relative to the vertical axis to avoid messy extrusion droop.
Threads & Inserts
Avoid printing plastic threads directly; they strip easily. Instead, design holes to accept brass heat-set inserts or tapped metal inserts for robust, reusable connections.
Snap Fits
Ensure your snap-fit cantilever arms are long and thin enough to deflect without exceeding the material’s yield strength. SLS Nylon and tough SLA resins work well here; PLA will snap.
Assembly Considerations
Design multi-part assemblies with alignment pins or keyed features. This ensures easy alignment and bonding during post-processing or final assembly.
Design for Manufacturability (DFM)
Always evaluate how a prototype will eventually be mass-produced. Do not design complex, undercut-heavy parts that can only be 3D printed if you intend to injection mold millions of them later.
Design for Assembly (DFA)
Minimize part counts. Where possible, combine separate components into single integrated shapes, a key design freedom enabled by additive technologies.
Prototype Types Explained
Not all prototypes serve the same purpose. Developing teams categorize models based on their fidelity.
- Concept Prototype: A low-fidelity model (often FDM printed or hand-carved) used to explore basic form, volume, and proportions.
- Visual Prototype: A high-fidelity aesthetic model featuring final paint, texture, and weight, used for photography, stakeholder reviews, and trade shows.
- Functional Prototype: A model built from durable materials to test mechanical, thermal, or electrical performance in real-world conditions.
- Engineering Prototype: A representative assembly made using processes as close to production as possible, verifying fitment and initial assembly lines.
- Alpha Prototype: The first fully integrated system prototype, combining custom mechanicals, electronics, and early software to verify core functionality.
- Beta Prototype: A highly refined system tested by actual users in real-world environments to identify UX issues and software bugs.
- Pre-Production Prototype: The final verification run made on actual production tooling to test manufacturing quality, cycle times, and assembly workflows.
Related: How to Make 3D Printed Molds for Silicone, Resin, and Small Batch Production
Rapid Prototyping Costs
Understanding how your project is priced allows you to manage budgets effectively.
What Affects Prototype Cost?
Pricing is driven by three main factors: material volume, machine runtime, and labor-intensive post-processing.
Material Costs
Standard plastics like PLA, ABS, and PETG are very affordable. High-performance engineering materials like PEEK, Titanium, or specialty photopolymer resins carry a premium price tag.
Machine Costs
Machining a part on an expensive 5-axis CNC mill or sintering metal on a DMLS printer carries a higher hourly rate than using an FDM desktop system.
Design Complexity
Under additive manufacturing, complexity is practically free. Under CNC machining, complex parts require multiple setups, custom fixturing, and longer programming times, raising costs quickly.
Quantity
While 3D printing is linear in cost (printing 10 parts costs roughly 10 times more than 1), vacuum casting and rapid injection molding offer lower per-unit costs as volume increases.
Post Processing
If your design requires manual sanding, bead blasting, vapor smoothing, painting, or anodizing, labor costs will reflect that effort.
Shipping & Lead Time
Super-fast turnaround requests often carry expediting fees, as does shipping heavy parts internationally via air freight.
Rapid Prototyping Lead Times
How fast can you get parts?
- Same-Day Prototypes: Often possible with in-house desktop 3D printers or highly local rapid print hubs for basic geometric checks.
- 24–48 Hour Production: Standard for professional online services utilizing FDM, SLA, or SLS for uncomplicated geometries.
- Standard Production Timeline: Roughly 3 to 7 business days for CNC machined prototypes and vacuum cast parts.
- Expedited Manufacturing: Many top bureaus offer prioritized production schedules to shave 2 to 3 days off standard metal machining and complex assemblies.
Surface Finishing Options for Prototype Parts
The raw output of a machine rarely looks like a finished product. Post-processing creates the desired look, feel, and function.
- Sanding: Removes layer lines from 3D prints, preparing the surface for priming and painting.
- Vapor Smoothing: Exposes parts (often ABS or ASA) to solvent vapors, melting the outer boundary to leave a glossy, incredibly smooth surface.
- Painting: Automotive-grade primers, color coats, and clear coats are applied to make plastic parts look exactly like production items.
- Powder Coating: A dry powder is electrostatically applied to metal parts and cured under heat, creating a tough, scratch-resistant protective layer.
- Anodizing: An electrochemical process that converts metal surfaces (mainly aluminum) into a durable, corrosion-resistant anodic oxide finish.
- Electroplating: Deposits a thin layer of metal (such as chrome or nickel) onto a plastic or metal substrate for aesthetics or conductivity.
- Polishing: Manual or mechanical buffing used to achieve high-gloss, optically clear finishes on PMMA, polycarbonate, or metals.
- Bead Blasting: Sprays fine glass beads at the surface, leaving a uniform, non-reflective matte texture that hides minor tooling marks.
- Silk Screen Printing: Transfers flat ink designs, logos, or labels onto flat prototype panels.
- Pad Printing: Transfers ink designs onto complex, curved, or recessed 3D geometries.
Related: 10 Best Resin 3D Printers in 2026: Tested Picks for Every Budget
Rapid Prototyping Applications by Industry
Virtually every sector that designs physical products relies on modern rapid manufacturing.
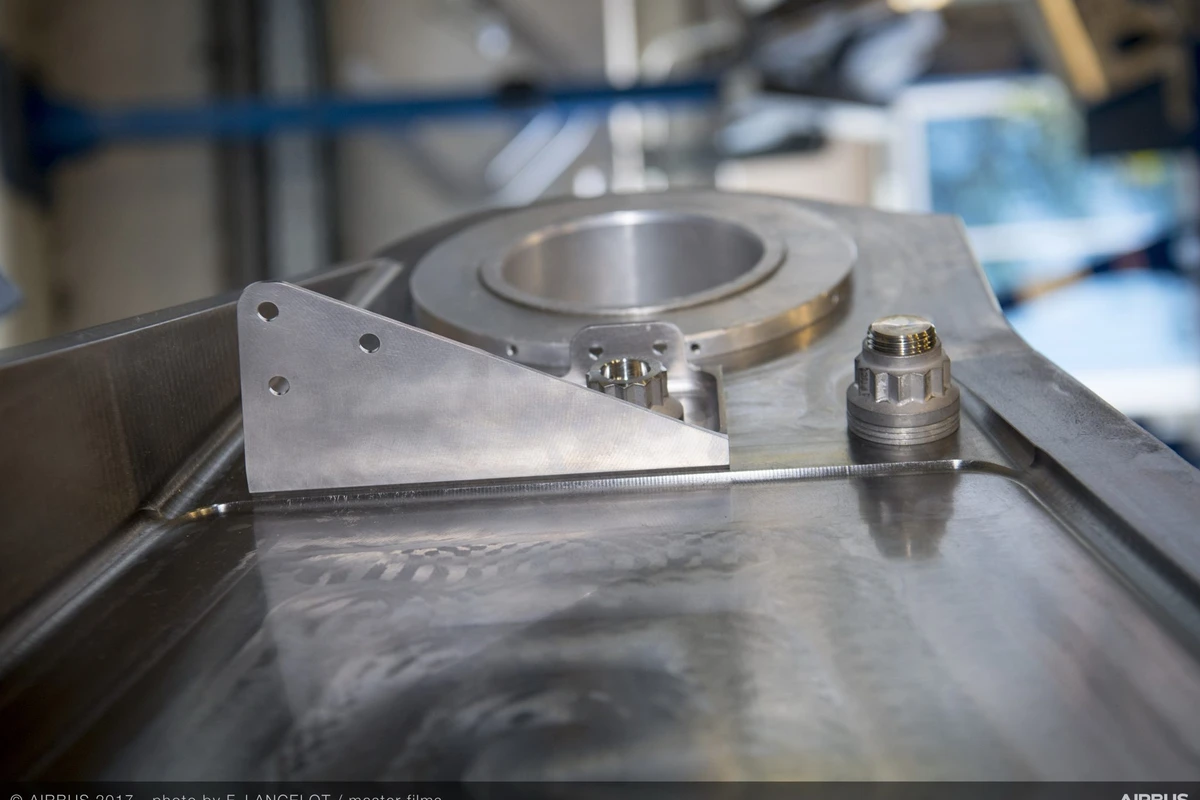
Aerospace
Used to create lightweight ducting, aerodynamic testing models, brackets, and highly complex topology-optimized engine parts using titanium and specialized high-strength plastics.
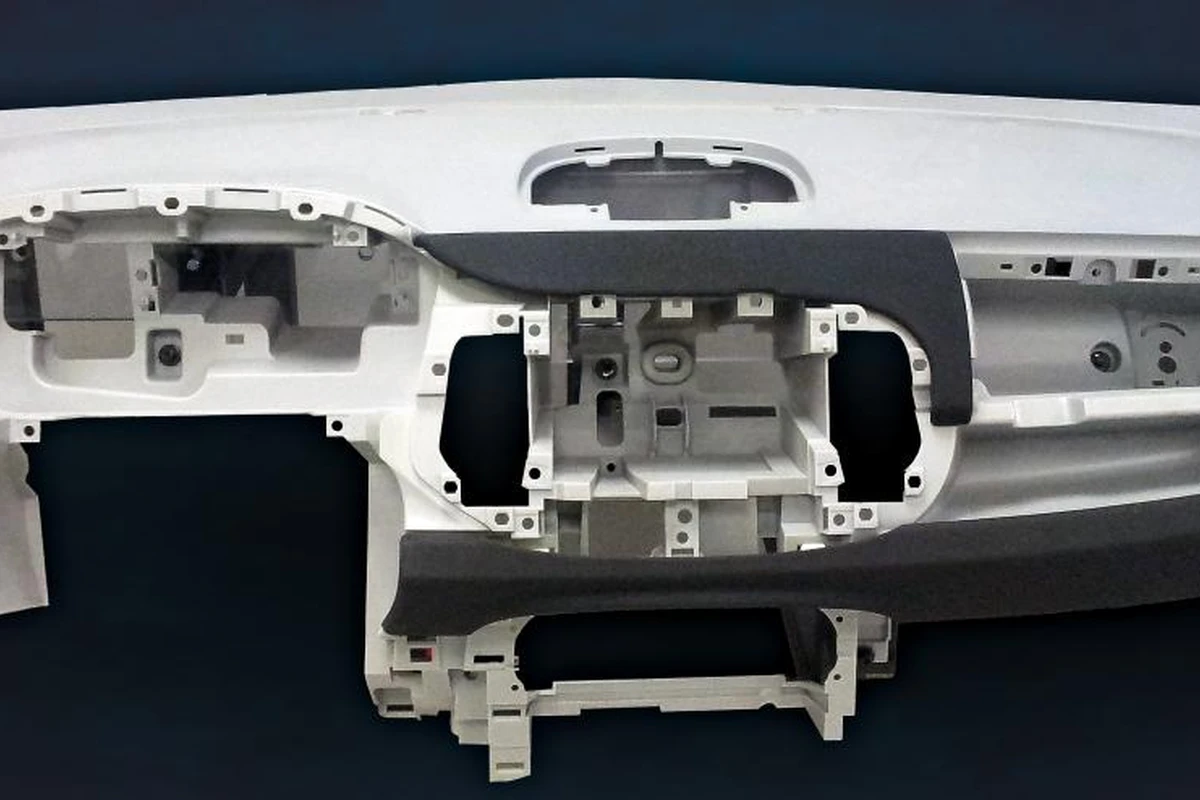
Automotive
Enables fast, physical testing of dashboards, engine manifolds, trim panels, and assembly jigs, shaving months off vehicle development timelines.
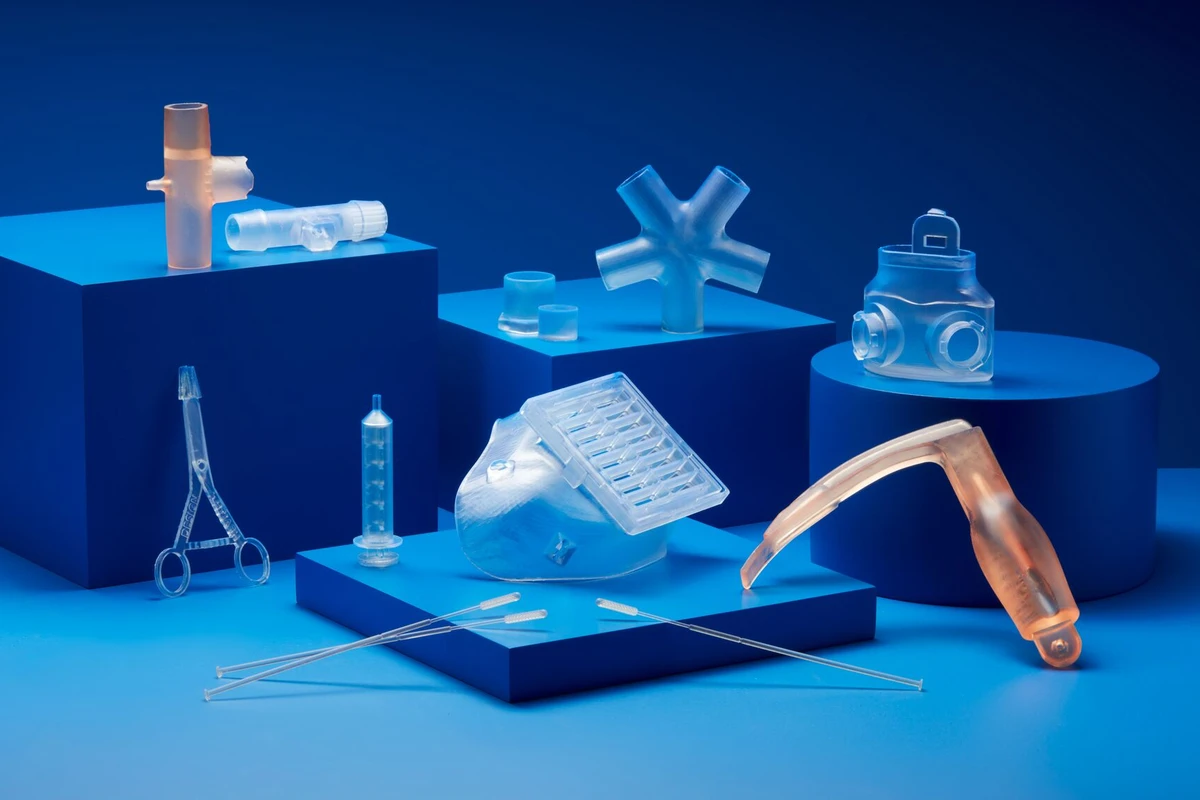
Medical Devices
Indispensable for surgical guide mockups, anatomical models for planning surgeries, and prototyping ergonomic casings for handheld medical devices.
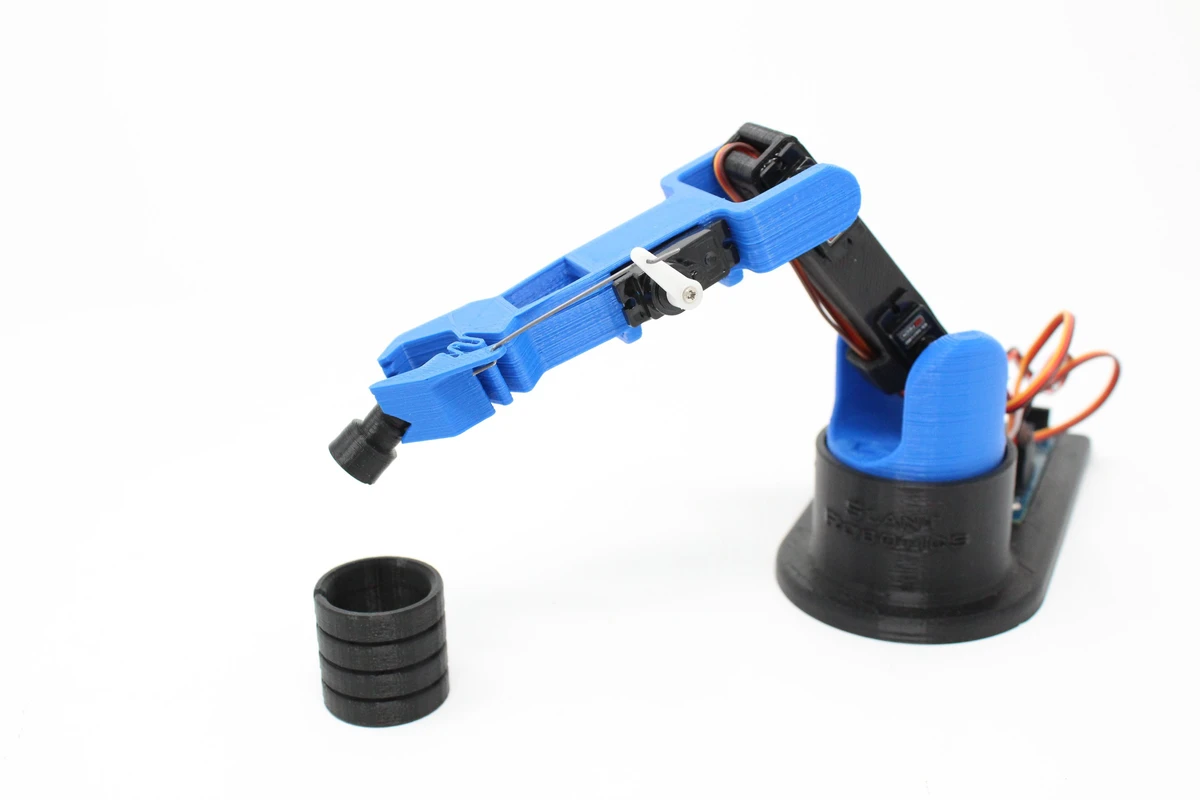
Robotics
Allows roboticists to quickly iterate on structural links, sensor mounts, and custom gripper fingers that must survive harsh stress testing.
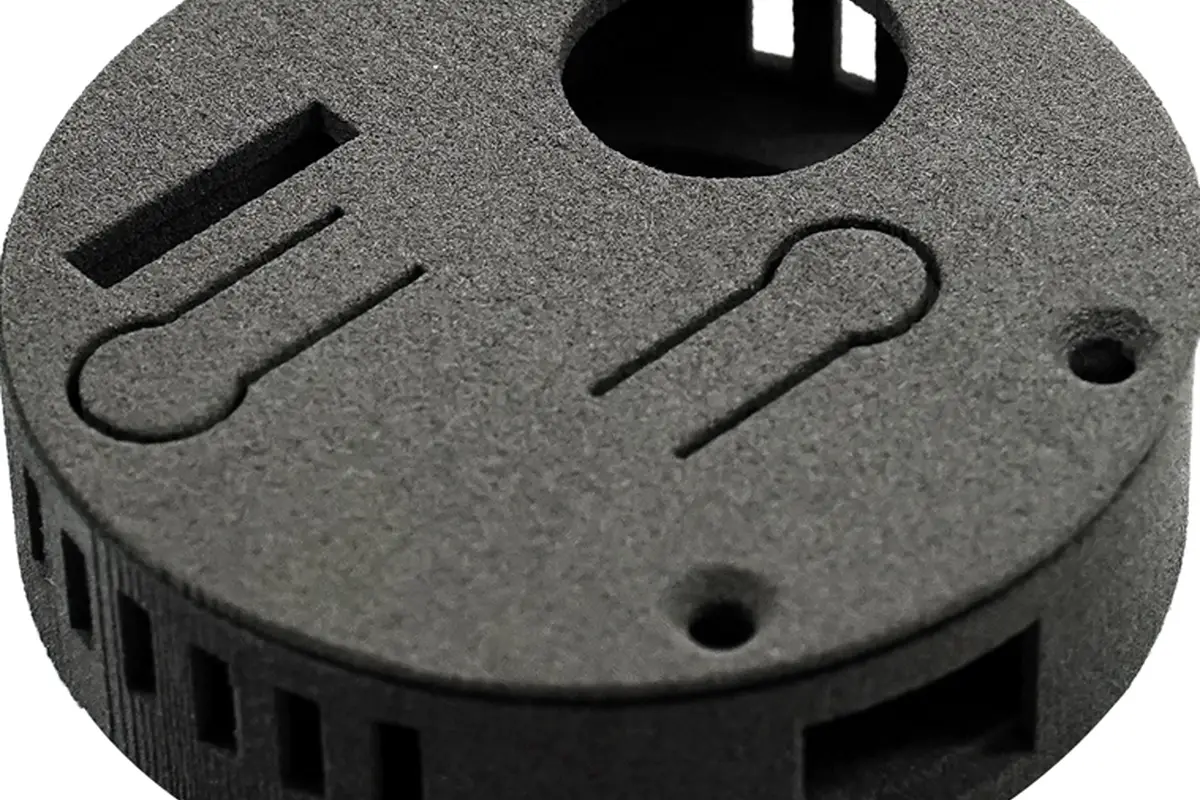
Consumer Electronics
Essential for packaging design, button tactile feedback validation, and drop-testing custom outer enclosures.
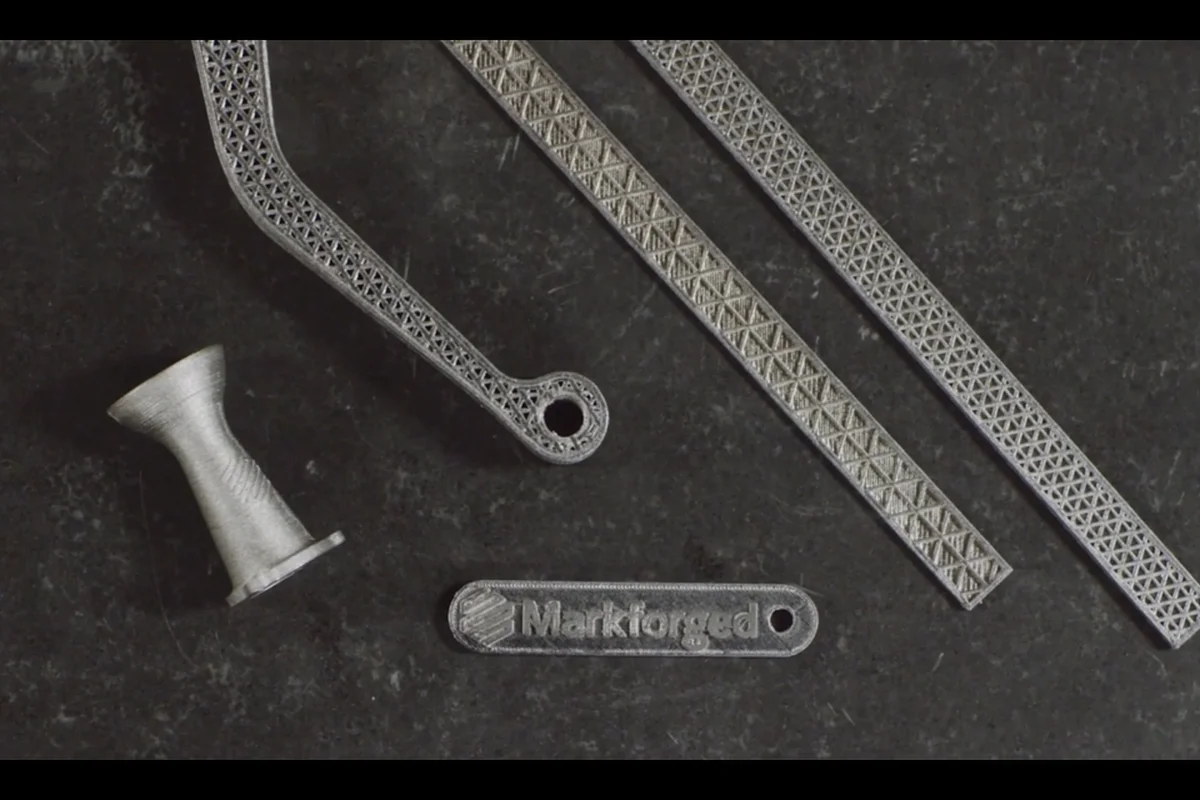
Industrial Equipment
Used to prototype robust gears, custom manifolds, and heavy structural mounting plates that keep machinery operating.

Architecture
Replaces labor-intensive cardboard and foam board modeling with highly accurate, durable 3D-printed scale models of buildings and landscape features.
Defense
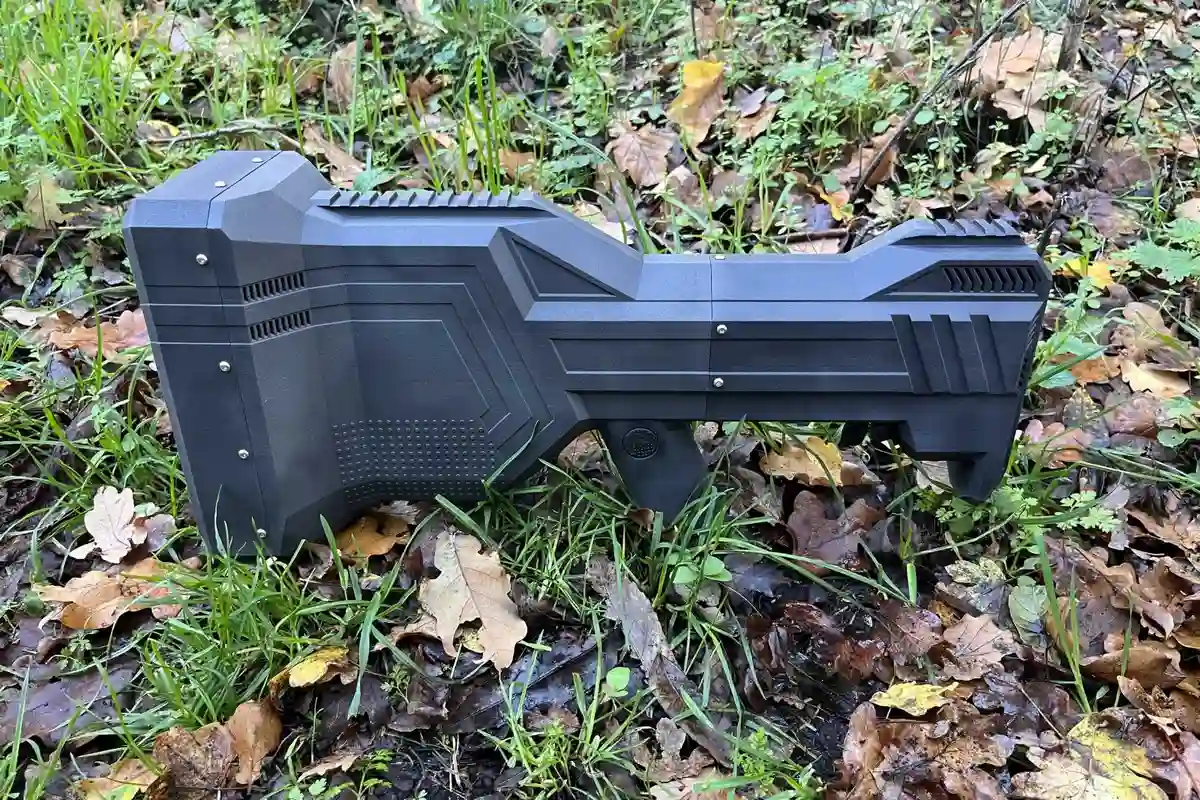
Supports fast development of ruggedized cases, specialized communication brackets, and aerodynamic drone wing shapes.
Education
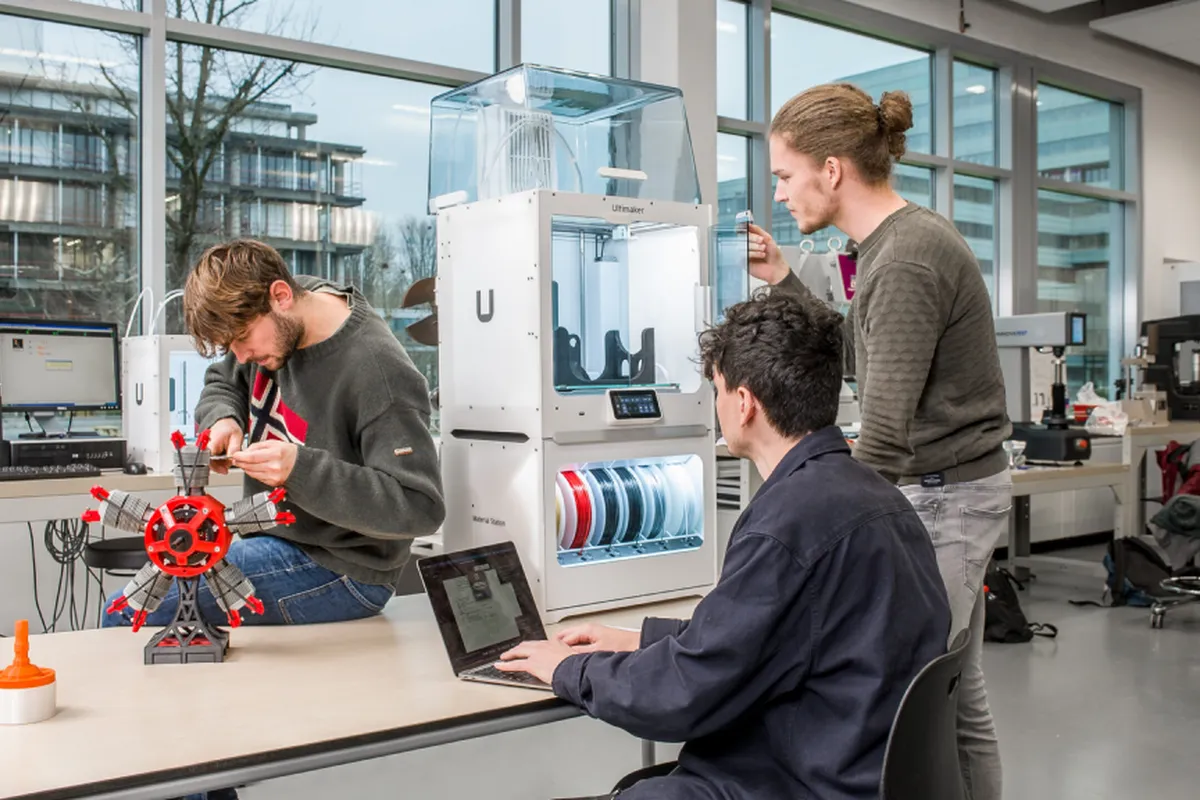
Provides student engineers and designers with hands-on learning, letting them test theories by printing their CAD work.
Energy
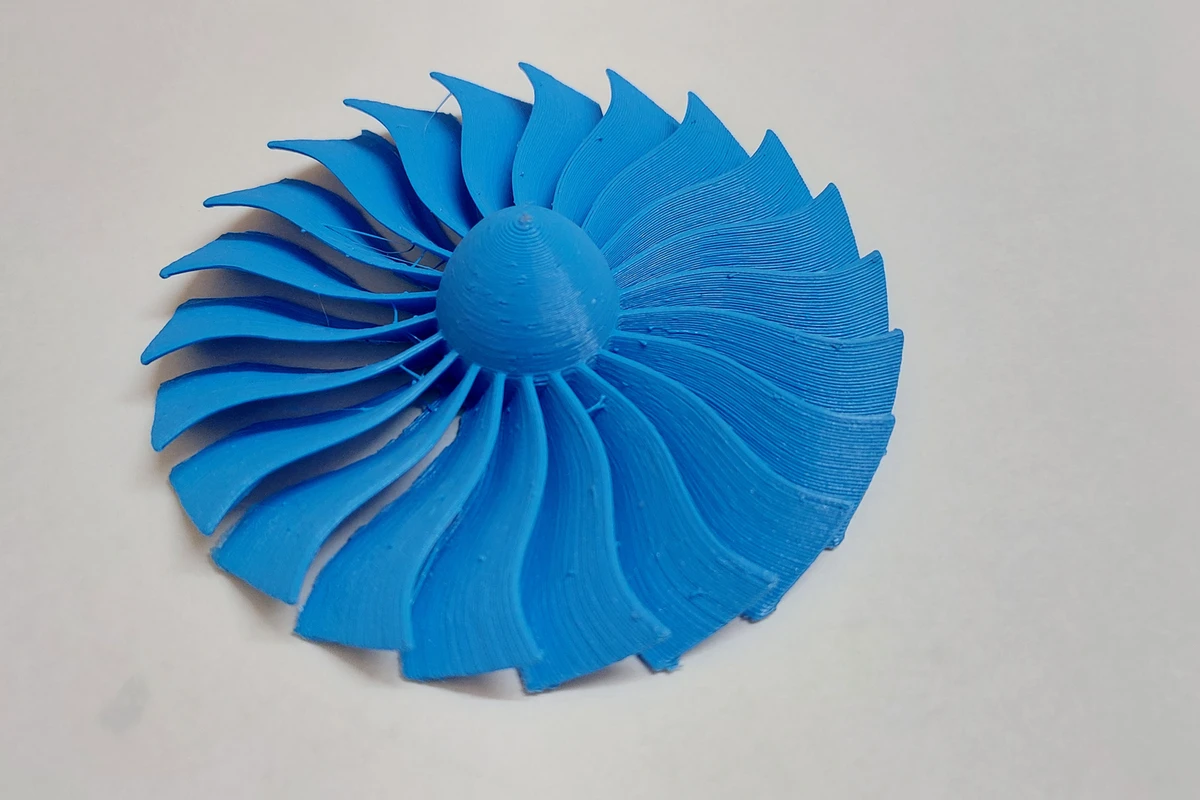
Used to prototype impeller blades, specialized drill heads, and solar mounting equipment engineered to survive harsh outdoor environments.
Common Challenges in Rapid Prototyping
Avoid these common pitfalls to keep your project on track:
Material Selection Mistakes
Using brittle materials (like standard SLA resin) for parts that need to snap together or withstand impacts will result in broken parts during assembly.
Poor CAD Design
Designing parts with razor-thin walls, insufficient drafts, or sharp internal corners leads to warped prints, weak structures, or parts that cannot be machined easily.
Incorrect Manufacturing Process
Using FDM printing for a part that requires fluid-tight seals or optically clear surfaces will result in leakage and poor transparency.
Weak Prototype Strength
Failing to account for the anisotropic weakness of 3D printing layer lines can cause structural failures during drop or stress tests.
Dimensional Inaccuracies
Ignoring the thermal shrinkage of certain plastics (like nylon or polypropylene) can yield parts that do not fit together properly.
Surface Finish Problems
Expecting raw, untreated FDM or SLS parts to look like polished consumer products can lead to disappointment. Always specify post-processing if aesthetics matter.
Rapid Prototyping vs Traditional Manufacturing
| Aspect | Rapid Prototyping | Traditional Manufacturing |
|---|---|---|
| Setup Cost | Extremely Low (No tooling) | High to Very High (Molds/Fixtures) |
| Lead Time | 1 to 5 Days | 4 to 12 Weeks |
| Unit Cost | Flat (High per-part cost) | Drops significantly at scale |
| Design Flexibility | Infinite (Easy to iterate) | Hard to change once tooling is cut |
| Production Vol. | 1 to 100 units | 1,000 to Millions of units |
Rapid Prototyping vs Rapid Manufacturing
Though they sound similar, these terms describe different engineering goals.
Key Differences
Prototyping focuses on validation, testing, and form checking. The parts are transient. Rapid manufacturing uses these same agile technologies to produce low-volume, final, end-use parts that will go directly to customers.
When to Choose Each
Choose prototyping when your design is still changing. Choose rapid manufacturing when your design is locked, but your production volume does not justify the high investment of traditional mass-production tooling.
Related: Best Budget 3D Printers in 2026: Affordable Options for Every Maker
From Prototype to Production
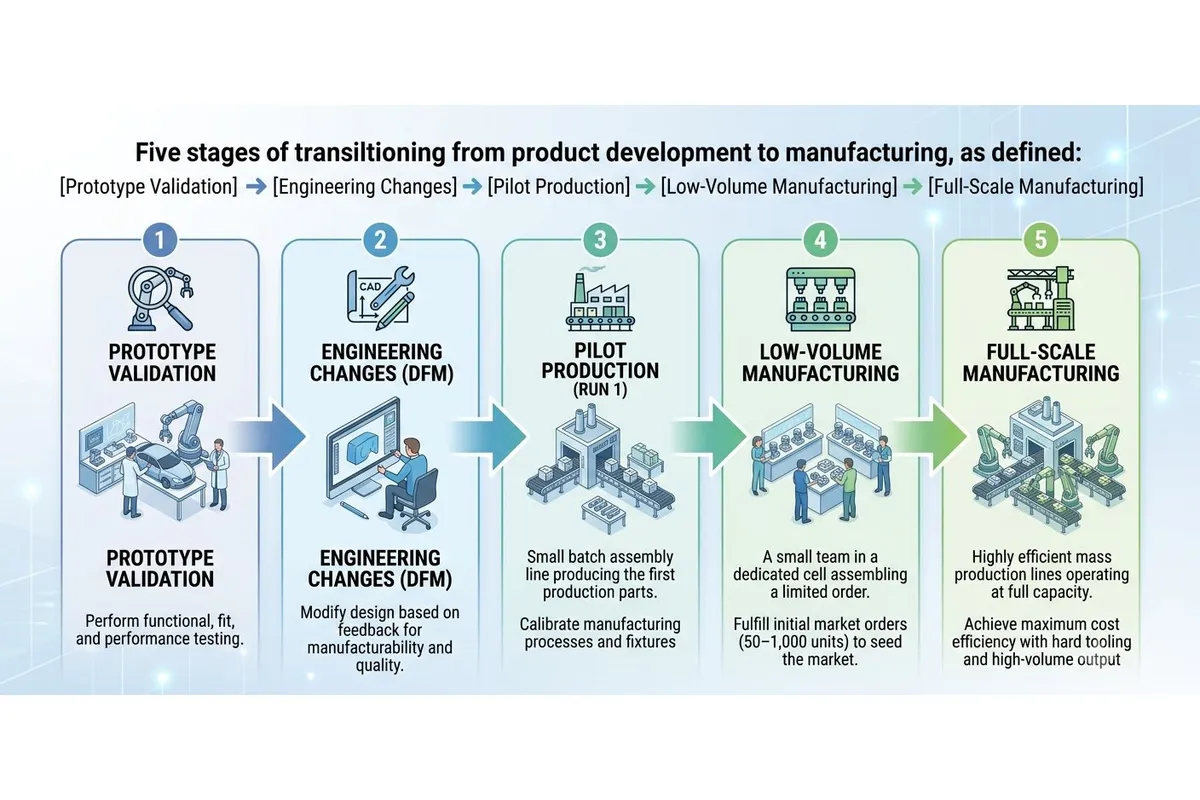
Taking a physical product across the finish line requires structured step-up phases.
Prototype Validation
Verify that your final functional and visual prototypes pass all performance, drop, and safety tests.
Engineering Changes
Update the production-intent CAD files based on prototype feedback to optimize for large-scale manufacturing (e.g., adding draft angles for injection molding).
Pilot Production
Run a small batch using final production processes to calibrate tooling, assembly steps, and quality control fixtures.
Low-Volume Manufacturing
Produce an initial batch of a few hundred or thousand units to fulfill early orders and monitor field performance.
Full-Scale Manufacturing
Transition into automated, mass assembly lines to achieve maximum cost efficiency and consistent output quality.
How LAVA3DP Supports Rapid Prototyping
When you need high-quality prototypes made quickly, you need a dependable manufacturing partner. LAVA3DP provides professional, industrial-grade rapid prototyping services to turn your digital concepts into physical realities.
- Instant Online Quoting: Upload your CAD files to receive instant, accurate pricing, allowing you to make quick budgeting decisions.
- Wide Range of Manufacturing Technologies: Access SLA, SLS, MJF, FDM, and Metal 3D printing alongside high-precision CNC machining and vacuum casting.
- Engineering Material Selection: Choose from a deep catalog of production plastics, rubbers, and metals to match your exact performance requirements.
- DFM Feedback: Every design is analyzed by experienced engineering teams to catch potential manufacturing issues before production begins.
- Prototype-to-Production Services: Seamlessly transition from single aesthetic models to low-volume pilot runs and full-scale manufacturing.
- Quality Inspection & Testing: Enjoy peace of mind with robust quality checks, including dimensional reports and material verification.
- Global Manufacturing & Shipping: Take advantage of reliable, fast shipping networks to get your parts delivered directly to your facility.
Related: 74 Cool Things to 3D Print in 2026: Useful, Fun, Easy & Unique Ideas
Choosing the Right Rapid Prototyping Partner
Your prototyping partner can make or break your development timeline. Look for these crucial elements:
Technical Expertise
Choose a team that understands how materials perform under mechanical loads and can guide you to the right process.
Manufacturing Capabilities
A partner with diverse machines under one roof ensures you get the best process for your part, rather than having them push the only machine they own.
Material Availability
Ensure they stock the specific, high-performance plastics or metals required for your functional tests.
Quality Certifications
ISO 9001 or AS9100 certifications prove that the supplier maintains rigorous, traceable manufacturing standards.
Turnaround Time
Look for partners with consistent, reliable shipping track records and transparent production schedules.
Customer Support
Direct access to responsive application engineers makes modifying designs and correcting errors simple.
Ready to Manufacturing with LAVA3dp?
Upload your CAD file today and receive instant pricing, expert engineering support, fast production, and worldwide delivery.
Get an Instant Quote →Final Thoughts
Prototyping is no longer just a way to see what a product looks like; it is an agile development tool. By understanding the processes, selecting the correct materials, and designing with manufacturing limitations in mind, you can compress your development timelines, mitigate engineering risks, and bring better-designed products to market faster.
Frequently Asked Questions
- Concept models (to evaluate size, form, and aesthetics)
- Visual/Aesthetic prototypes (to review color, finish, and texture)
- Functional prototypes (to test mechanical and physical behavior)
- Pre-production prototypes (to test manufacturing tooling and assembly setups)